Users
1. Click on the left Navigation Menu and select the Users.
2. The User List is displayed with All Users, Invited Users, and the Bookmark.

3. Click on the Hamburger Menu at the right of All User, to view the Customize Display of the tab columns/headers.

4. The user has the option to rearrange any of the table header to display specific column information as required.
5. The following are the table headers:
- User ID: Unique ID generated when a user is created.
- Org/Ref ID: Organization or the reference ID.
- Username: Username of the User ID created.
- User Role: Role assigned to the user.
- Full Name: Full name of the user.
- Email Address: Email address of the user. Date of Joining: Date of joining displayed when the user joins for the first time, after creating and setting up the password of the user at any given time.
- Status: Status of the user:
- Active: It is the state in which the user is logged in.
- Inactive: It is the state in which the start and end date expires or when bank manager inactivate.
- Waiting for Approval - it is the state when user creation needs to be approved by the Bank Manager based on the Workflow for approval set.
- Invited - it is the state when the user is invited to join the system, but did not register yet.
- Expired - it is the state when created invitation expired and the user did not join the system.
- Pending - it is the state when invitation is sent and registration of the user is pending.
- Registered : It is the state in which the user crates a password.
- Action: It provides an option to Edit User or to Bookmark.
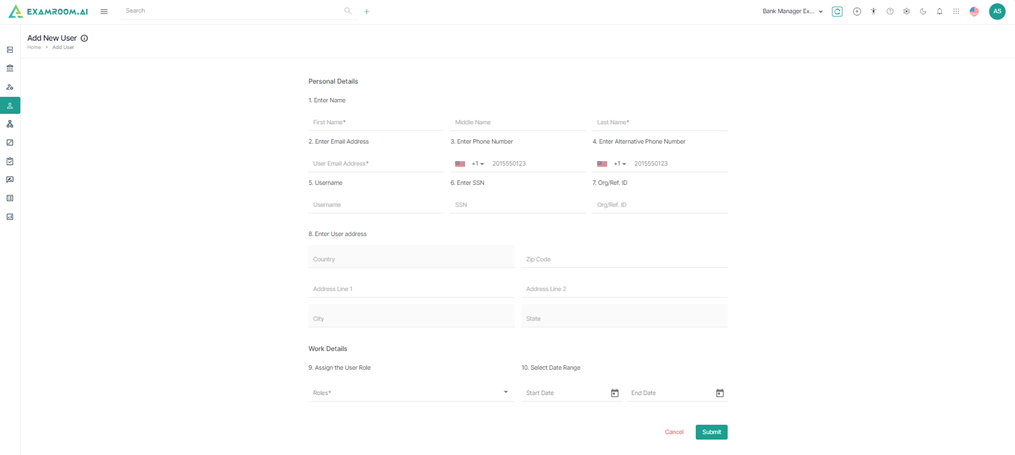
Add New User
1. Click Add New User to add a new user.
Note: Add New User information page is displayed.

2. Click Submit, to submit the new user information.
Invite User
1. Click Invite User from the header.
Note: The application displays the invited Users list.
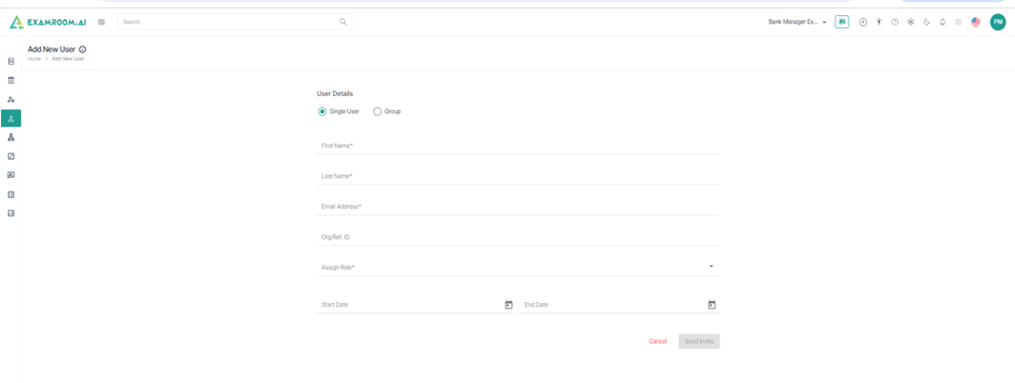
2. Click Invite User button.

Single User
1. Select Single User under User details, provide the required information with the Start and End Date of duration.

2. Click Send Invite, to invite the single user.
Note: All mandatory fields must be entered.
Group User
1. Select Group User under User details.

2. Download template to provide the required information in the respective columns.

3. Click to Upload or Drag and Drop the excel and click Submit, to send the invite in bulk.
1. Click on the Hamburger Menu at the extreme right of the User List, to view the Customize Display of headers.

2. The user has the option to rearrange any of the table headers to display specific column information as required.
3. The following are the table headers:
- All Users
- Invited Users
- Bookmark
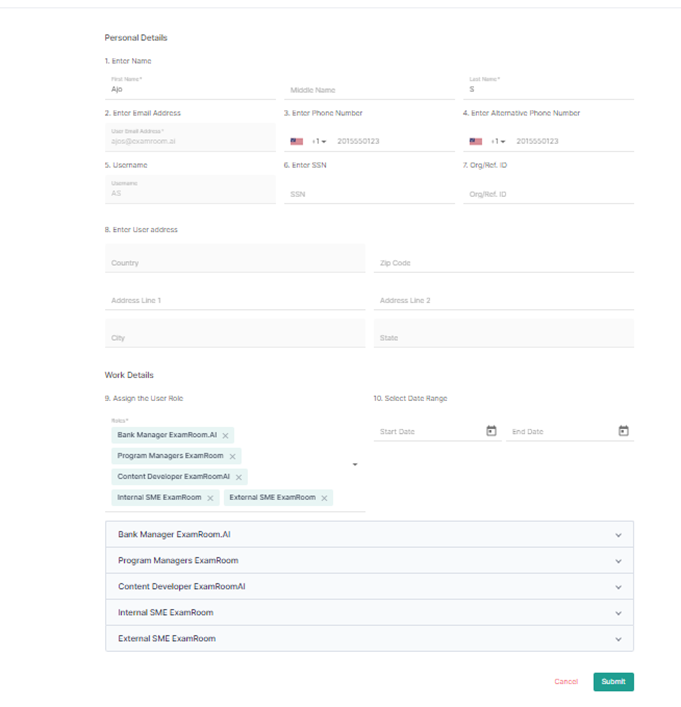
Edit User
1. Click on the Hamburger Menu in the Action table column for any of the User ID.

2. Following is the display of actions:
- Edit User
- Bookmark
3. Click Edit User to edit.

4. Edit User information is displayed, make changes, and click Submit, to submit the user update.
A success message User Successfully Edited is displayed at the top right corner along with edited user in the list of All Users.

Bookmark
1. Click on the Hamburger Menu in the Action Table column for any User ID.
2. Select Bookmark, to bookmark the User ID and to display it under the Bookmark tab.

