Test Plans
1. Click Test Plans menu.

2. Click Hamburger Menu at the top right corner to rearrange any of the table headers to display specific column information as required.

3. The following are the table headers:
- Test Plan ID: Unique ID of the test plan.
- Test Plan Name: Name of the Test plan.
- Description: A short description of the test plan.
- Split Option: A different category or type of reference.
- Created Date: The date on which the test plan was created.
- Created By: The name of the person who created the test plan.
- Status: Gives the status of the test plan.
- Action: Gives the complete general details of the test plan.
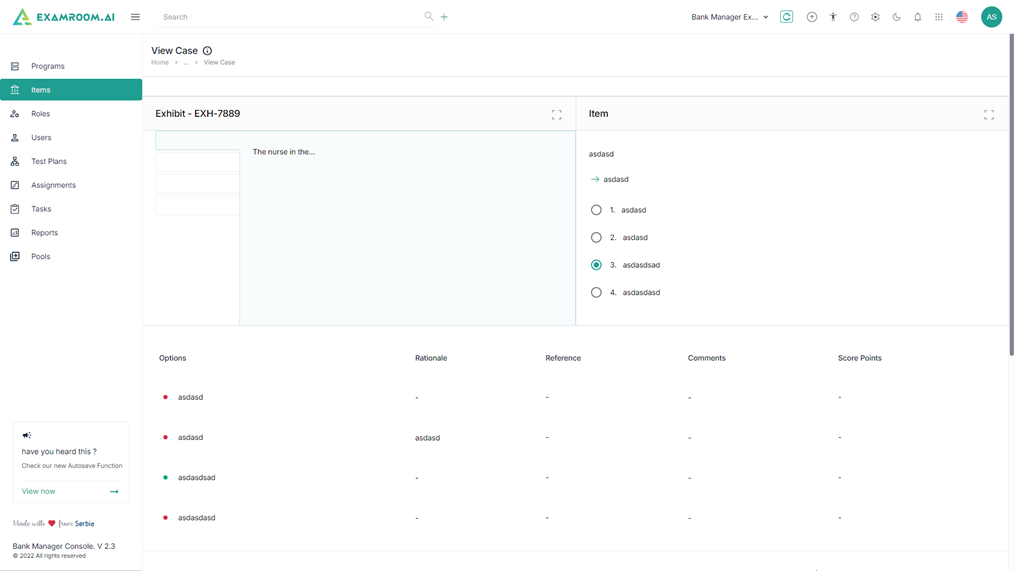
4. Click on the View icon to see the item in the test plan.

5. Click on the Hamburger Menu of the Action table column to Edit test plan or Clone and Edit test plans.
Add New Test Plans
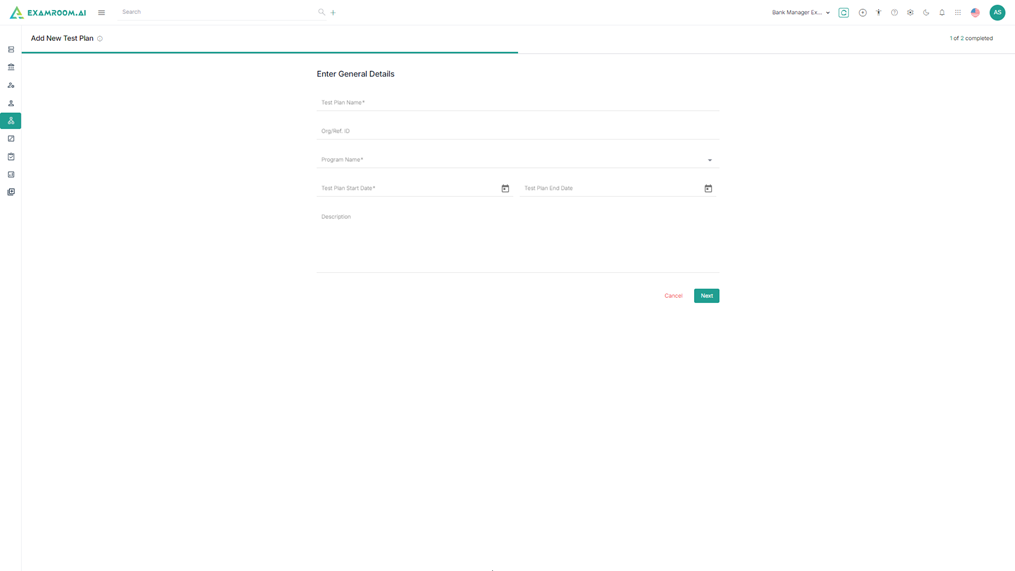
1. Click Add New Test Plan to add new test plan.

2. Enter the following general details.
- Enter the Test Plan Name and Org/Ref ID.
- Select the Program Name.
- Select the Test Plan Start and End Date.
- Enter Description.
3. Click Next.

4. The application displays the Test Plan Summary page.
5. Choose Topics from the dropdown.
Note: The user should have already added the topics for the selected program in order to choose from the dropdown list.
6. Check Choose Split Options from the checkboxes.

Percentage Rage
1. Click the Arrow to view the subtopics.
2. Enter the From and To range to view the total percentage range.
3. Click Submit to create the test plan.

Percentage
1. Click the Arrow to view the subtopics.
2. Enter the percentage to view the total percentage.
3. Click Submit to create the test plan.

Discrete Range
1. Click the Arrow to view the subtopics.
2. Enter the From and To range to view the total discrete range.
3. Click Submit to create the test plan.

Discrete Number
1. Click the Arrow to view the subtopics.
2. Enter the Number to view the total Number.
3. Click Submit to create the test plan.

