Group Creation
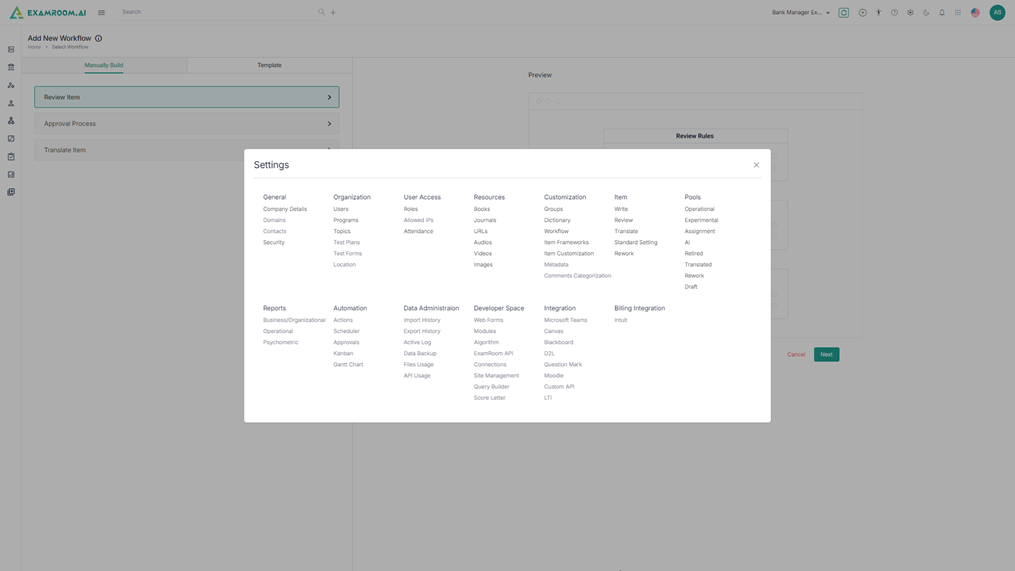
1. Click setting icon and navigate through settings popup.
2. Click Groups under Customization section.
3. The Group List is displayed with Item Group and User Group.
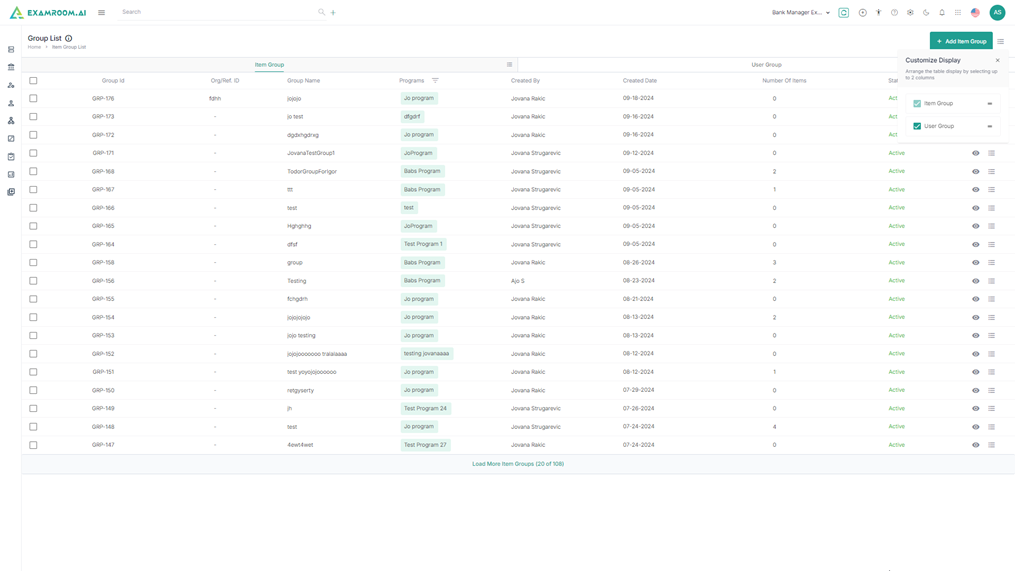
4. Click on the Hamburger Menu at the right of Item Group, to view the Customize Display of the tab columns/headers.
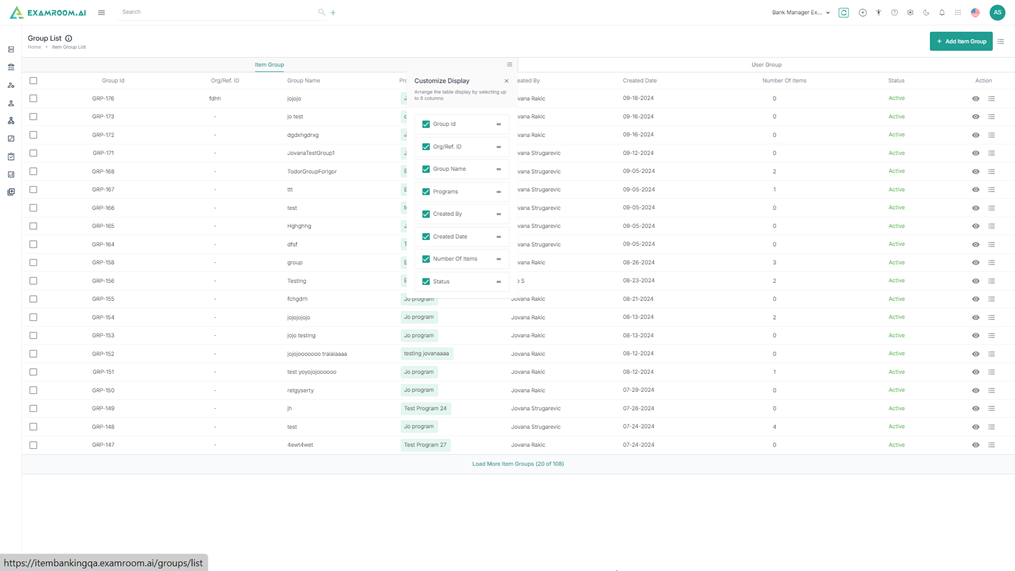
6. The user has the option to rearrange any of the table header to display specific column information as required.
7. The following are the table headers:
- Group ID: Unique ID generated when a group is created.
- Org/Ref ID: Organization or the reference ID.
- Group name: Group name of the group ID created.
- Programs: Name of the program.
- Created by: Name of the person who created the item group.
- Created Date: Date when the item group was created.
- Number of items: The count of the items in the item group.
- Status: Status of the item group created:
- Active
- Inactive
- Action: A choice to Edit Group and Bookmark.
8. Click on the Hamburger Menu at the right of User Group, to view the Customize Display of the tab columns/headers.
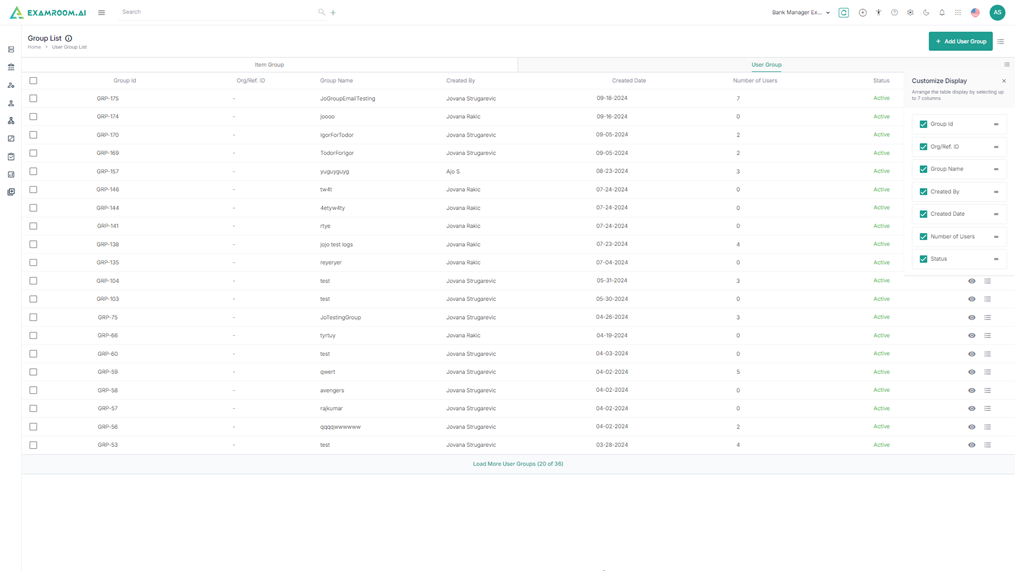
8. The user has the option to rearrange any of the table header to display specific column information as required.
9. The following are the table headers:
- Group ID: Unique ID generated when a group is created.
- Org/Ref ID: Organization or the reference ID.
- Group name: Group name of the group ID created.
- Programs: Name of the program.
- Created by: Name of the person who created the item group.
- Created Date: Date when the item group was created.
- Number of items: The count of the items in the item group.
- Status: Status of the item group created:
- Active
- Inactive
- Action: A choice to Edit Group and Bookmark.
Add Item Group
1. Click Item Group section and click Add Item Group.

2. Enter the following details in the Group Details section.
3. Enter the Group name and Org/Ref ID.
4. Select the Program to which the item needs to be added in group.
5. Enter the Description and click Next.

6. Under Add item section view the items based on the selected program.
7. Click the checkboxes to select the item from the list.

8. Click view icon to view the selected item.
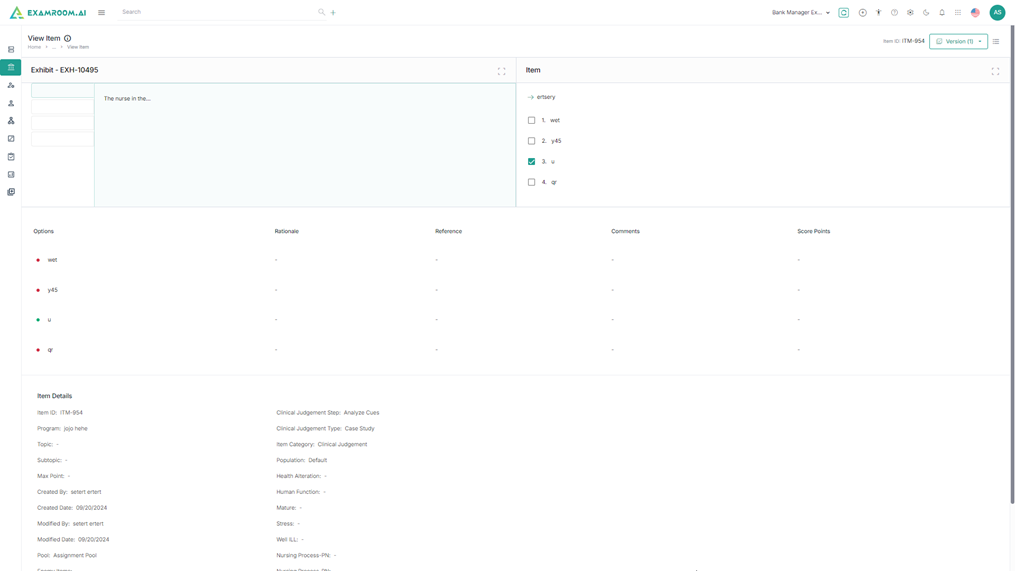
9. Click Next.

10. Click Add More to add more item in the group.
11. Click View icon to view the selected item and Delete icon to delete the selected item from the preview page.
12. Click Submit to create the item group
Add User Group
1. Click User Group section and click Add User Group.

2. Enter the following details in the Group Details section.
3. Enter the Group name and Org/Ref ID.
4. Enter the Description and click Next.

5. Under Add User section view the users.
6. Click the checkboxes to select the users from the list.
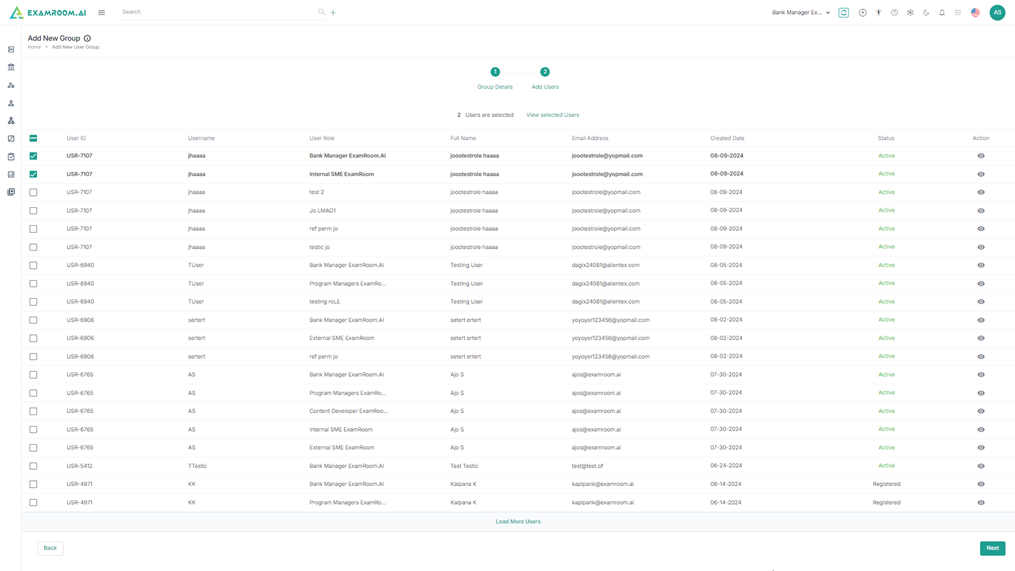
7. Click view icon to view the details of the selected user.
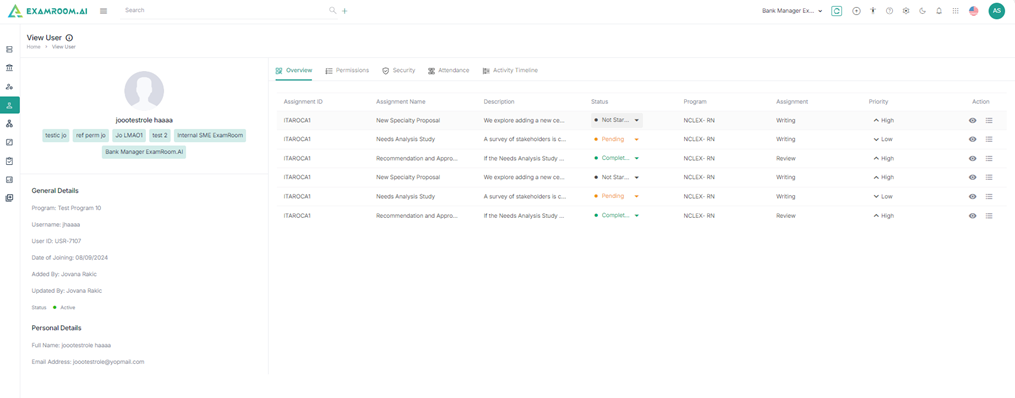
8. Click Next.

9. Click Add More to add more users in the group.
10. Click View icon to view the selected user and Delete icon to delete the selected user from the preview page.
11. Click Submit to create the user group
